

How to import an Excel equipment list into Werp™ without rebuilding it first, even with a title row, merged cells, and dates and prices written for people. It covers the 3 things to decide beforehand, how to read the column-matching and review screens, and photo fill-in and undo after the import, all on real screens.
When you move to an equipment management system, the first registration takes the longest. You have to rebuild an Excel list of hundreds of rows into the shape the new system demands before you can import it. That step is heavy enough that the migration itself often gets postponed.
Werp™’s import reads your current list without making you rebuild it. It reads sheets that still have a title row or merged cells, and it matches each column to a destination from its header. You can check the result row by row before importing, and an import of new items can be undone within 30 days. This article covers what to decide before you move, the import steps, and what to do afterward.
A list that has been in use for years usually looks something like this.
An import feature that demands fixed column names and a fixed order makes you tidy the sheet first: delete the title, unmerge the cells, rewrite the dates, rename the columns to match. The more rows you have, the more this slows you down.
Werp™ can read the sheet as it is, but it helps to decide up front how its contents should map into Werp™.
Werp™ keeps product information (an item) separate from each individual unit. If your list gives a quantity per model, such as “Camera: 3,” importing the quantity column creates three units under the same item.
However, a serial number can be set only on a row whose quantity is 1. For gear you want to track one unit at a time by serial number or asset number, keep one row per unit. Small things like cables can stay grouped by quantity.
These are the fields you can import: Name, Brand, Model, Category, and Description (the item); Quantity, Location, Serial number, Asset number, Nickname, Owner, Status, and Note (the unit); and Purchase date, Price, and Vendor (the purchase). Only Name is required.
A column that fits none of these doesn’t have to be thrown away. It can be kept in each unit’s note as “column name: value.” A rule of thumb is whether you will want to search or filter by that column. If you want to filter by department, consider importing the department column as a category or a location instead.
Locations and categories are matched by name, and a new one is created when none exists yet. If your list mixes “Storage A” and “Storage-A,” you end up with two separate locations. Make the names consistent first, using Excel’s find and replace or sorting, and you will have less to fix afterward.
You don’t need to tidy everything before you start. An import of new items can be undone within 30 days, so you can try one sheet or a few rows first and import the rest after checking the result.
Open the import screen from “Import from Excel/CSV,” under the “▾” next to “New Equipment” on the inventory page (admins only). Choose “Add new items” and you move through four stages. Nothing is saved until you run the import in the last stage.
You can choose an Excel file (.xlsx) directly. If it has several sheets, pick the one to import. CSV and TSV work too, and the encoding is detected automatically. You can also select a range of cells in Excel or Google Sheets, copy it, and paste it.
Files can be up to 20 MB, and one import takes up to 5,000 rows. The old .xls format can’t be read, so re-save it in Excel as .xlsx or .csv. The file is read inside your browser. At the review stage the row data is sent to Werp™ for matching, but nothing is saved until you run the import.
For each column in the file you see the header, sample values, and the destination. The destination is picked automatically from the header, so “Equipment,” “Item name,” and “Name” all count as the item name. If one is wrong, choose another. The matching you confirm is remembered by the browser for each workspace, so the next time you import a sheet with the same headers it is already filled in.
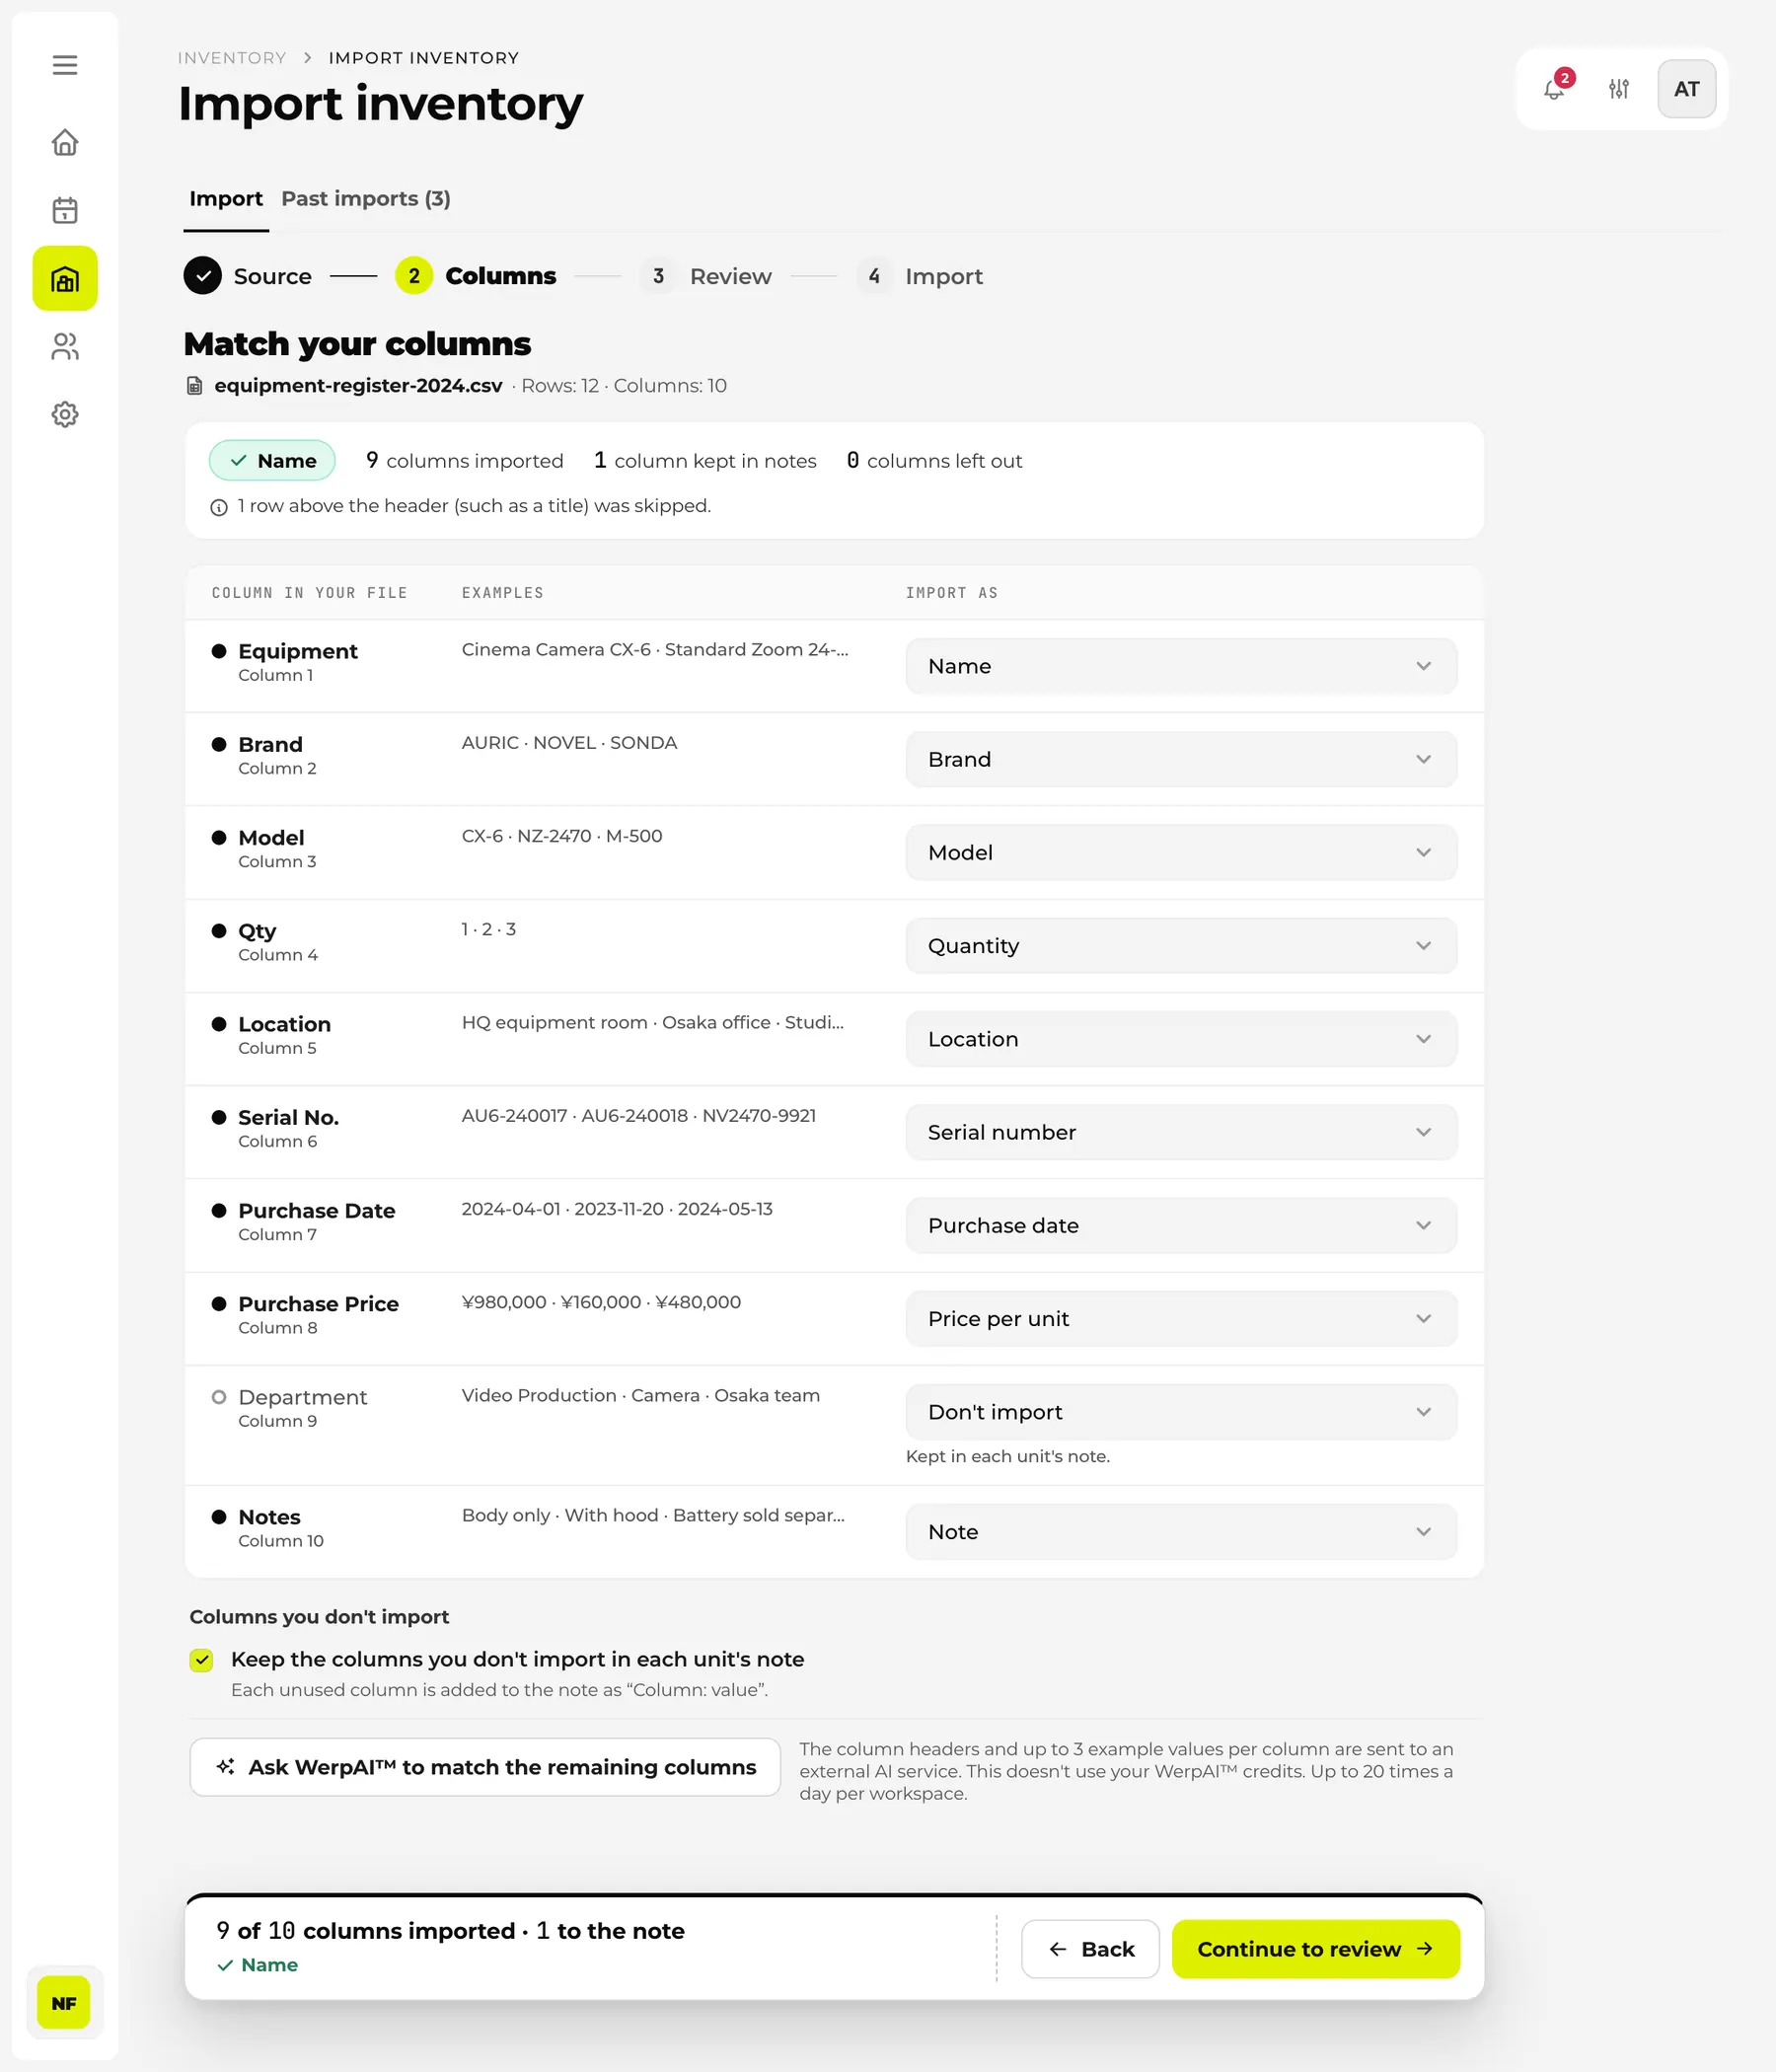
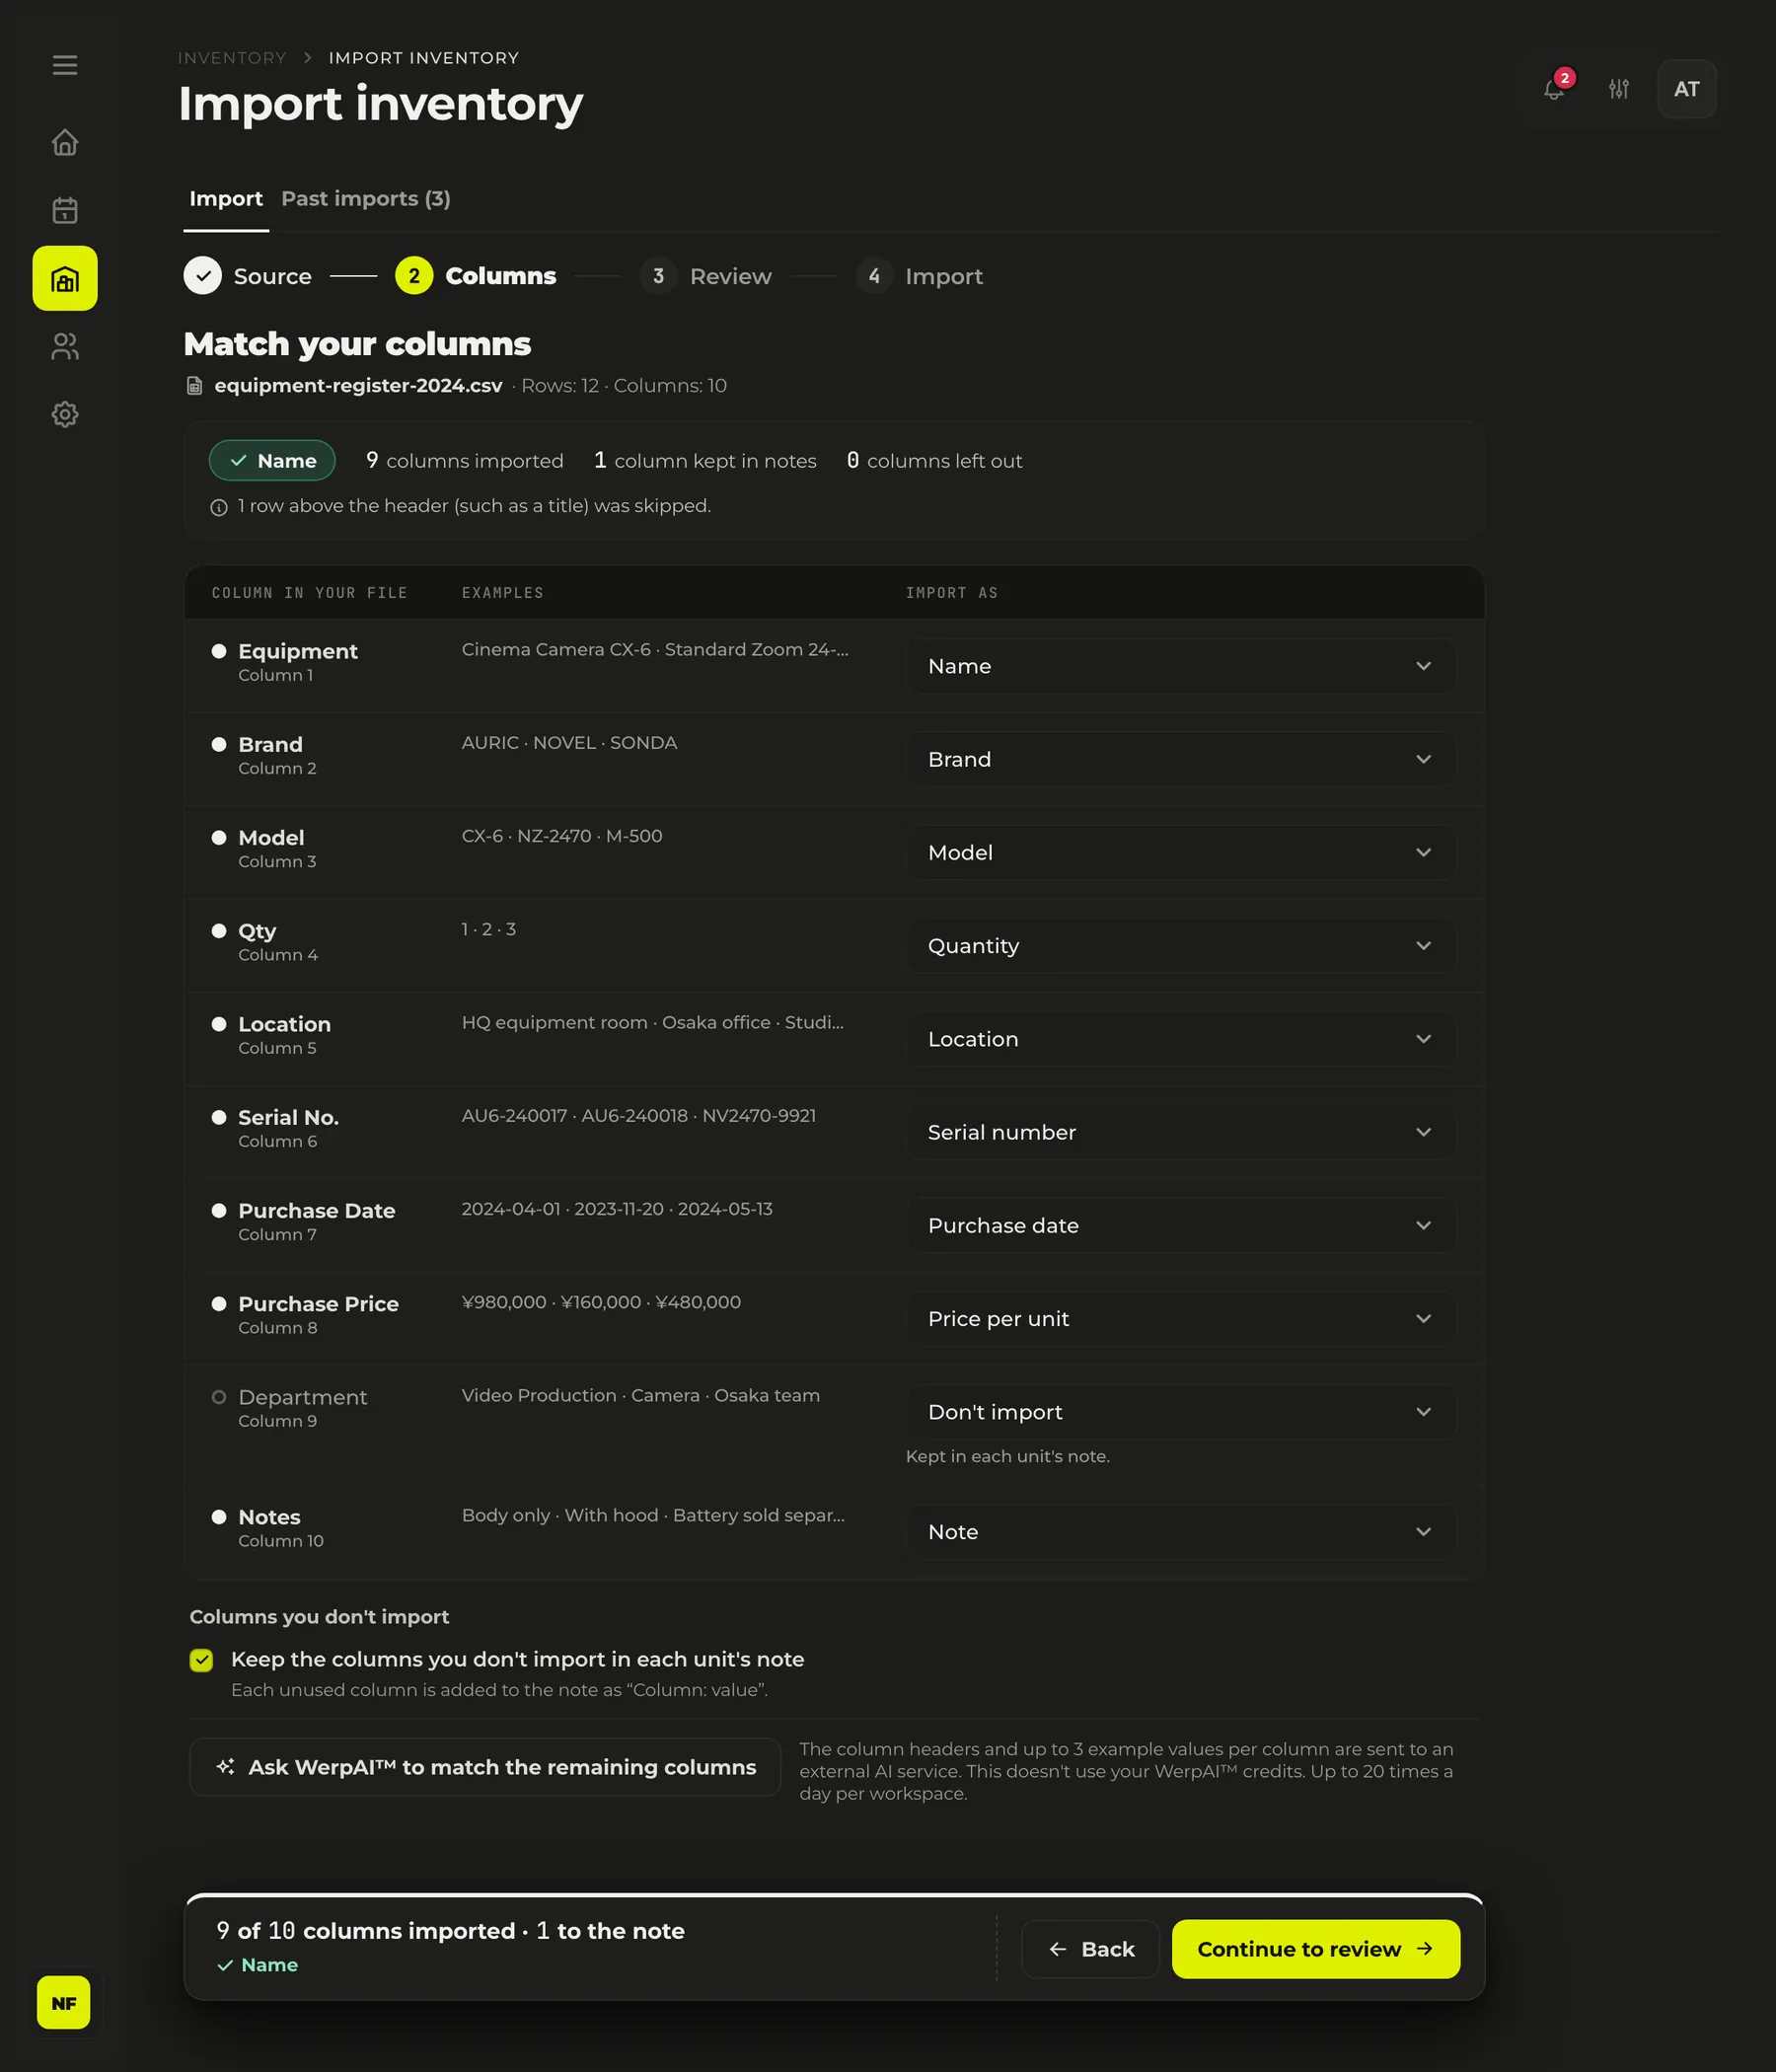
For columns the headers don’t settle, you can have WerpAI™ suggest a match with “Ask WerpAI™ to match the remaining columns.” What goes to the external AI service is only the column headers and up to 3 sample values per column, with email addresses and numbers of 9 or more digits masked. It uses no WerpAI™ credits, and each workspace can use it up to 20 times a day.
The review stage runs the same matching as the real import, without saving anything. The number of units to be imported comes first, followed by how each row will be handled.
| Label | Meaning |
|---|---|
| New | Registered as a new item |
| Added | Adds units to an item that is already registered. The unit count before and after is shown too |
| Skipped | A row whose serial number is already registered. Rows with a serial number aren’t added twice if you import the same file again |
| Error | A row that can’t be imported, for example because the price can’t be read. The reason is shown |
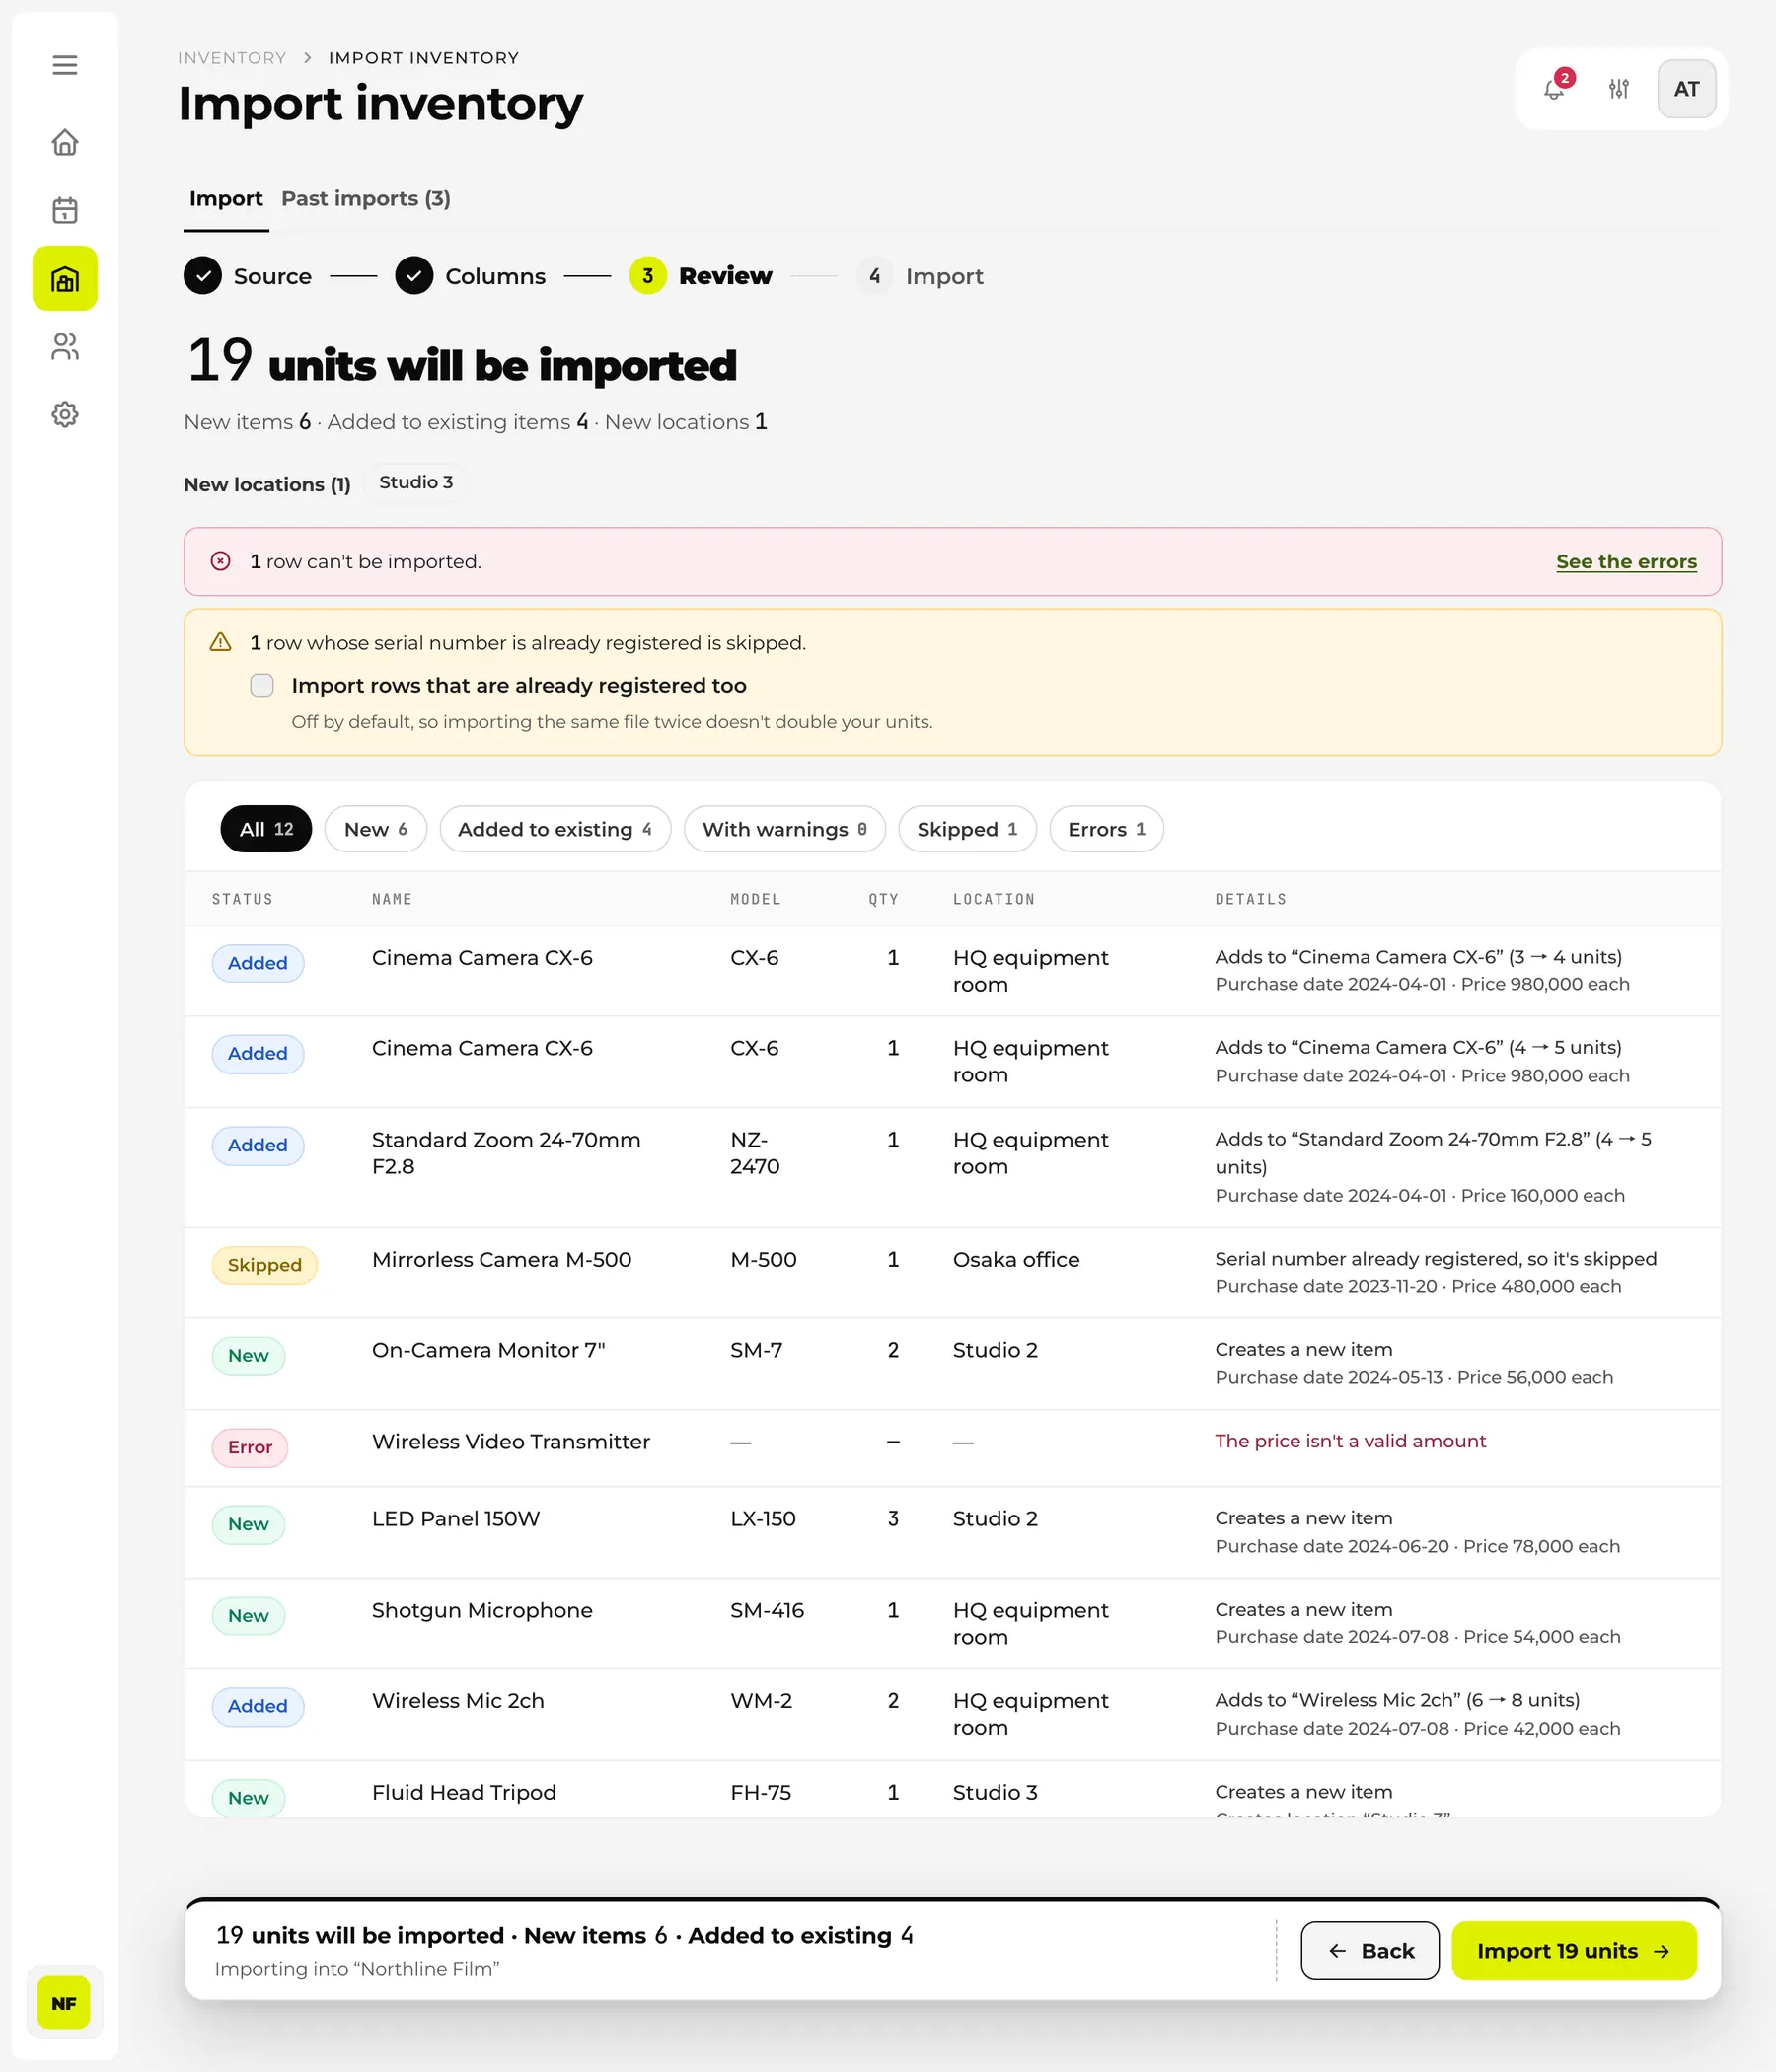
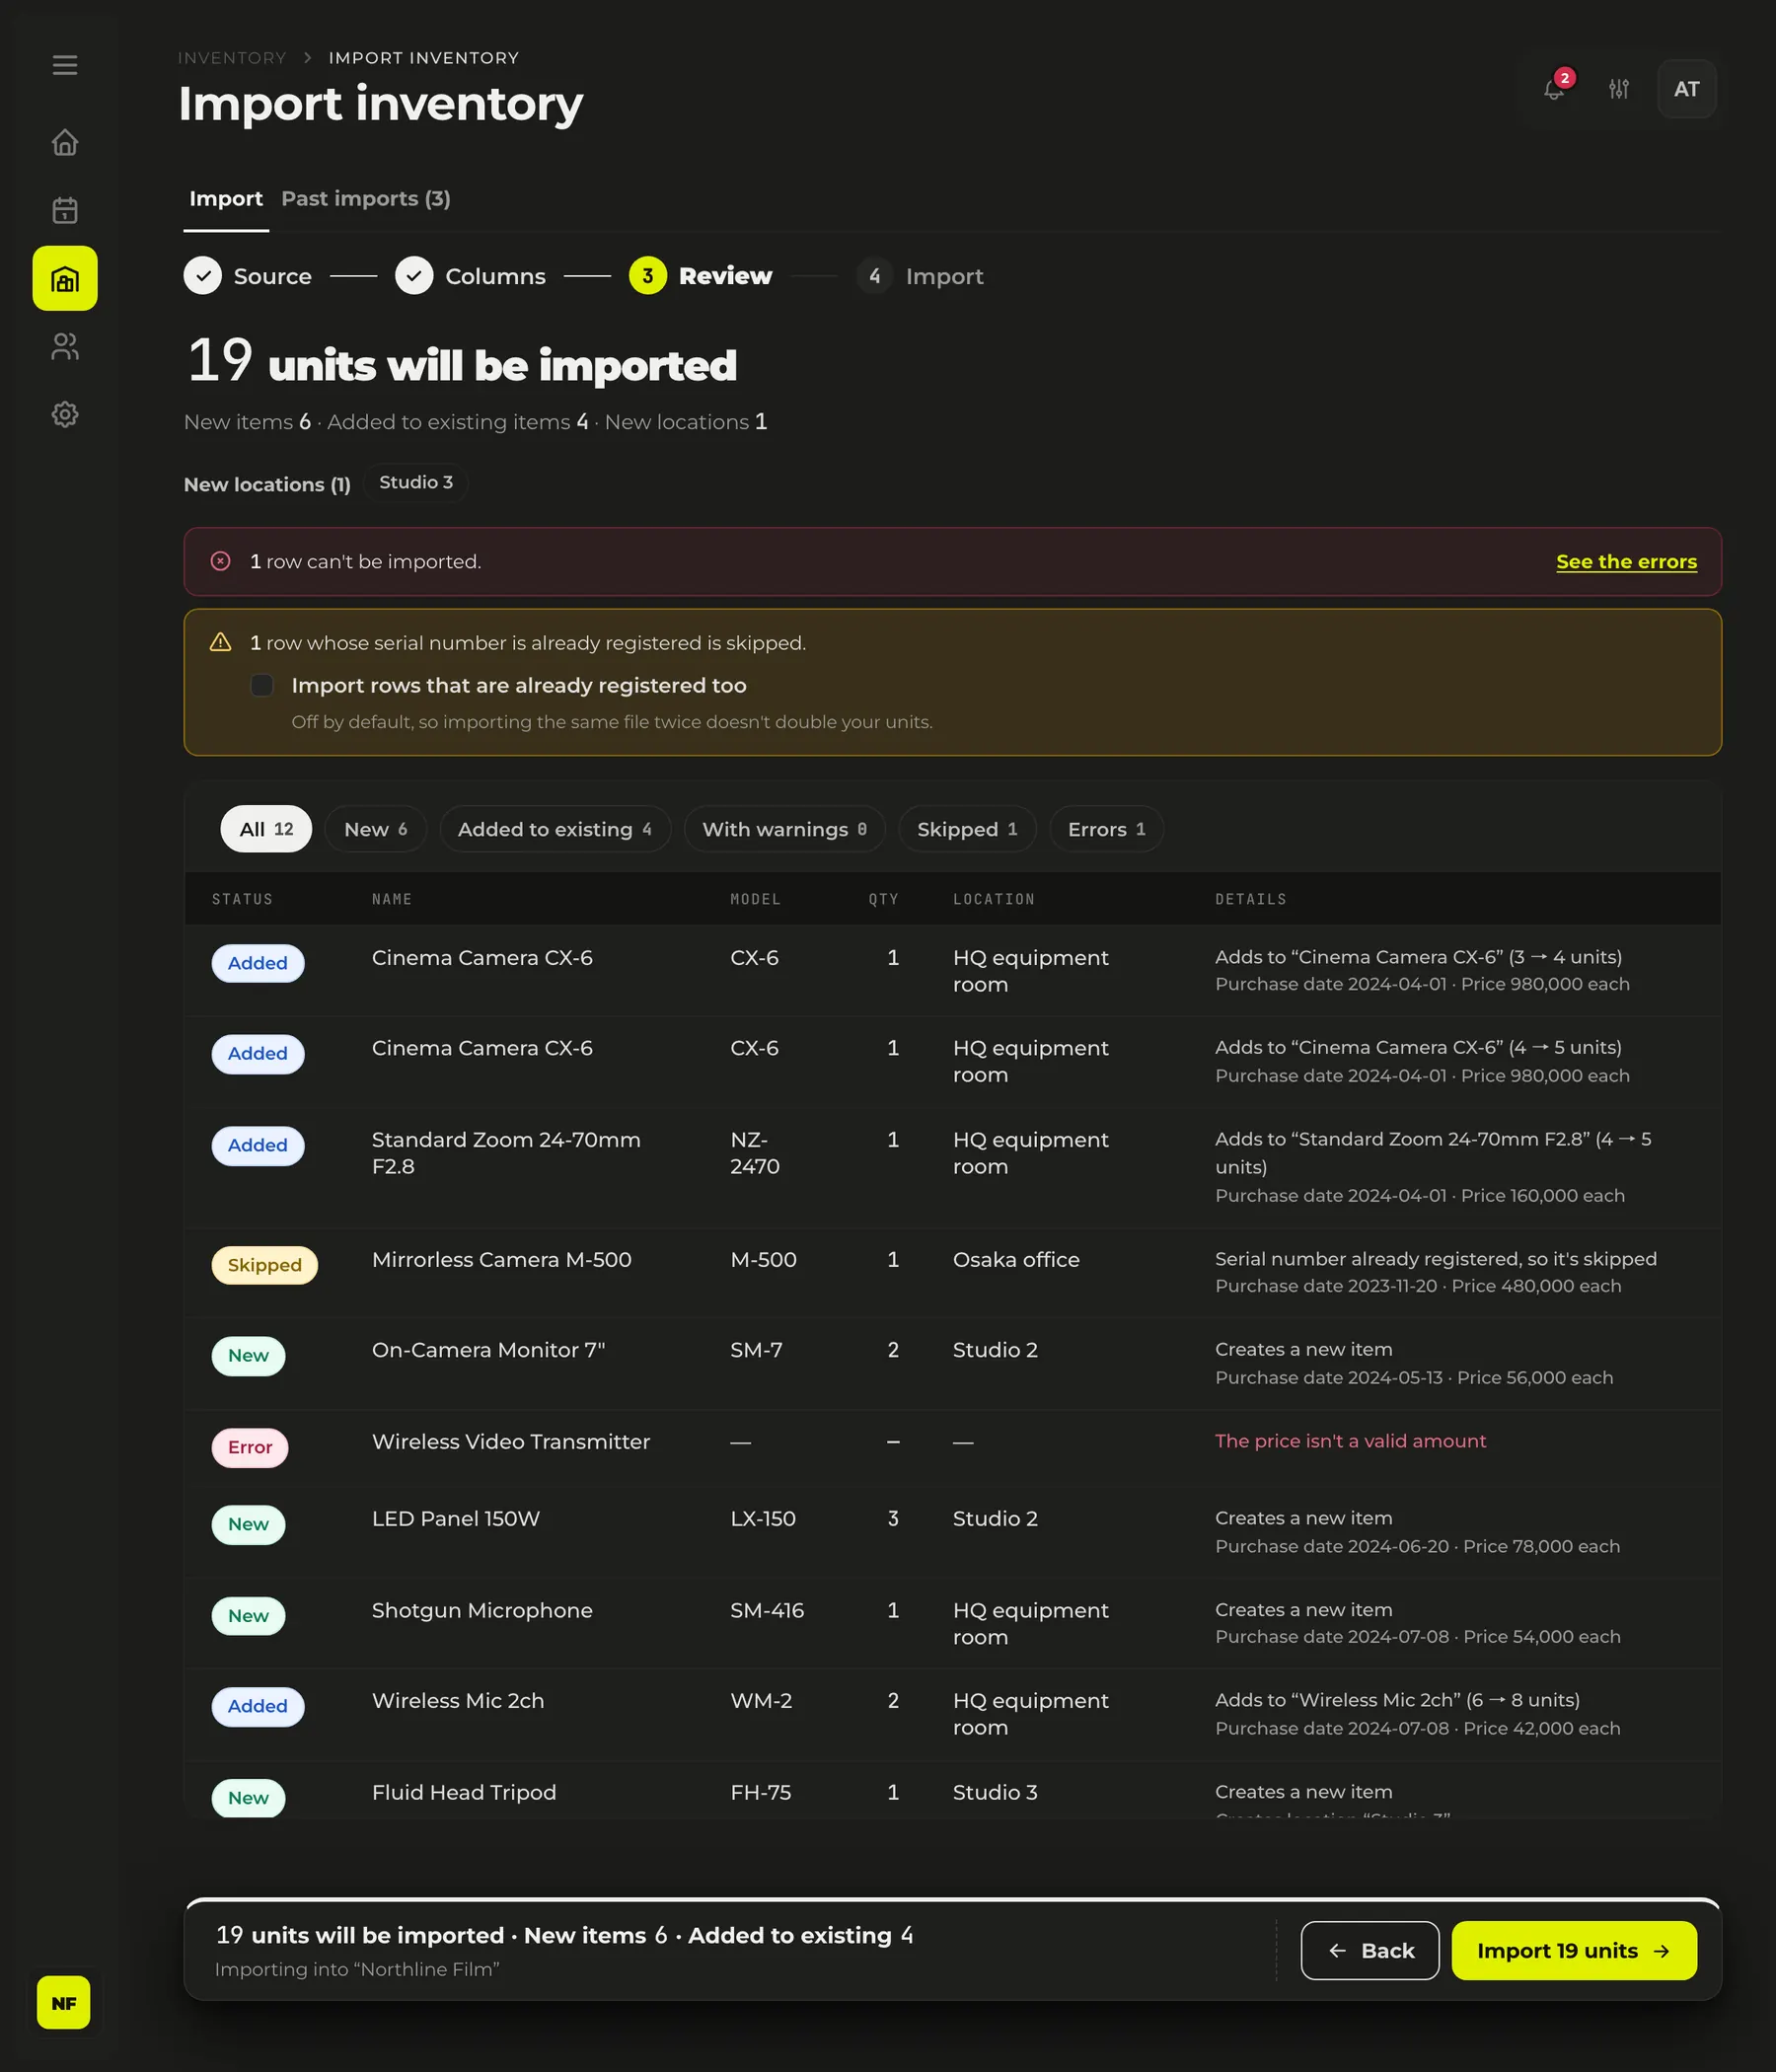
The screen also shows the locations and categories that will be created, the purchase dates and prices as read, and the unit count and plan limit after the import. If you would go over the limit, you can import only as many units as fit, starting from the top, or reconsider your plan.
When you run it, the rows are sent 200 at a time, with a progress display. If the connection drops partway, “Retry the remaining rows” picks up where it stopped, and rows already sent are never registered twice. Rows that weren’t imported can be taken out with “Download the rows that weren't imported (CSV)”, with a column giving the reason. Fix them in the file and import just those rows again.
| Your list | How the import handles it |
|---|---|
| Title or creation-date rows above the table | It looks for the header row within the first 10 rows and skips everything above it |
| Merged cells | The value is spread across the whole merged range. A quantity merged vertically is divided by the number of rows |
| Dates and prices written for people (e.g. “Apr 1, 2024”, “1,200.00”) | Read as they are. An ambiguous date such as 4/1/2024 is read month first unless a day above 12 in the same column settles it, and the review screen shows each date as read. For formulas, it reads the result that Excel saved |
| A quantity column for each location | For each of those columns, choose “Quantity at this location” as the destination |
| Columns that exist only at your company | Can be kept in each unit’s note as “column name: value” |
| Hidden rows or rows hidden by a filter | They are imported. The row count is shown on screen, so delete any you don’t want from the file first |
| Total and subtotal rows | Not imported as equipment; skipped |
| Pasted images | Images can’t be imported. You can add photos after the import |
When the import finishes, “Fill in photos and links with WerpAI™” can fill the blanks for new items that have a model number. If the model matches one in Werp™’s catalog, the data comes from the catalog and uses no credits. If it isn’t in the catalog, WerpAI™ search is used, at up to 1 credit per item, and it fills in only links and photos from pages whose title contains that model number exactly. Anything you already entered is not overwritten.
For the fill-in, only the brand and model number text of each item is sent to external AI and search services. Name, description, serial number, asset number, and purchase details are not sent. That text is also kept in Werp™’s search log. Clear the selection for any item whose model number is an internal nickname or an unreleased product. Imported data is never added to the catalog that is shared with other workspaces.
Every import is recorded under “Past imports,” and an import of new items can be undone within 30 days. Before you undo, you see how many units will be removed and how many will stay. Units that have started to be used since the import stay, such as those with a booking, check-out, edit, scan, or stocktake record, and no bookings disappear.
Once the list is in Werp™, you can print a QR label for each unit. You don’t have to label everything at once. Start with what you lend out most, and each labeled unit can have its check-outs and returns recorded from a phone right away.
We cover how to run check-out and return with QR labels in another article.Read: How to manage check-out and return with QR codesTo fix many locations or owners at once, export from the Asset ledger with “Export units (CSV),” correct the file in Excel, and load it with “Fix existing items in bulk” on the import screen. Before anything is saved, each unit shows its before and after, and an empty cell leaves the current value as it is. This update can’t be undone, so check the review screen before you run it.
The details of which files can be read, the full list of importable fields, and what stays after an undo are in the documentation.See the documentation on importing Excel and CSV filesRebuilding the list in a new format is the biggest reason migrations stall. Werp™’s import reads an Excel file that still has a title row and merged cells, and matches each column to a destination from its header. You decide three things first: one row per unit or a quantity per model, which columns go into notes, and whether your location names are consistent. You can check the result before importing, and an import of new items can be undone within 30 days, so try it first on part of your own list.
Set up in 5 minutes. Free forever — no credit card required.